用Electron(原名为Atom Shell)有一段时间了,周围总有人问相关的问题,今天就来总结一下。Electron的本质是提供了一个浏览器环境,并且在这个浏览器环境里,可以直接使用nodejs方法处理数据,然后渲染到dom中,就凭这一点,给开发者自由发挥的空间就相当巨大了,既可以用html来实现界面,又可以使用node相关模块调用丰富的原生(操作系统)API,相当于既是server又是client,岂不爽哉?
Electron安装
1、安装依赖
开发环境下Electron依赖Node环境,所以需要先安装nodejs,具体参考https://nodejs.org/,安装完成后执行如下命令确保正常展示版本号即可,本文不再赘述
node -v
npm -v
2、全局安装
全局安装和下面的局部安装二选一,推荐全局安装
# 墙内的话安装过程中会下载失败,需要首先设置electron的源为淘宝源即可
npm config set ELECTRON_MIRROR http://npm.taobao.org/mirrors/electron/

# 全局安装 需要的话追加上 --registry='http://registry.npm.taobao.org' 使用淘宝npm源安装
sudo npm install electron -g --allow-root -unsafe-perm=true
# Windows使用下面语句 64位32位机器都是--win32
npm install electron -g --platform=win32

# 验证安装
electron -v
3、局部安装
建议新建个文件夹,然后进入到该文件夹进行操作
# 墙内的话安装过程中会下载失败,需要首先设置electron的源为淘宝源即可
npm config set ELECTRON_MIRROR http://npm.taobao.org/mirrors/electron/

# 局部安装 需要的话追加上 --registry='http://registry.npm.taobao.org' 使用淘宝npm源安装
npm install electron --save-dev
# Windows使用下面语句 64位32位机器都是--win32
npm install electron --save-dev --platform=win32

# 验证安装
node_modules/.bin/electron -v
4、安装下载进度
正常的话,安装下载进度如下直至完成
> electron@5.0.6 postinstall /home/qii/electron/eee/node_modules/electron
> node install.js

Downloading tmp-26643-1-SHASUMS256.txt-5.0.6
[============================================>] 100.0% of 4.74 kB (4.74 kB/s)
npm notice created a lockfile as package-lock.json. You should commit this file.

+ electron@5.0.6
updated 1 package and audited 201 packages in 499.235s
found 0 vulnerabilities
文件准备
新建文件夹并进入,如果上面是局部安装时话已经建好了文件夹则直接进入即可,并在文件夹下新建如下文件。
1、package.json
Electron会首先加载的配置文件,如果局部安装该文件已经存在的话,补全缺少的字段即可
{
  "name": "my-app",
  "version": "0.1.0",
  "main": "main.js",
  "scripts": {
    "start": "electron ."
  },
  "devDependencies": {
    "electron": "^5.0.6"
  }
}
必填字段含义如下
| 字段 | 含义 |
| name | 应用名称,会显示在窗口顶部 |
| version | 应用版本号 |
| main | 应用入口点,没有的话会默认尝试加载index.js文件 |
2、main.js
package.json中指定的入口点文件,即程序主文件
const {app, BrowserWindow} = require('electron')

let mainWindow

// 创建主窗口,设置了宽高等信息
function createWindow () {
  mainWindow = new BrowserWindow({
    width: 1000,
    height: 600,
    webPreferences: {
      // node集成,即是否注入node能力
      nodeIntegration: true
    }
  })

  // 加载主页面内容 index.html
  mainWindow.loadFile('index.html')

  mainWindow.on('closed', function () {
    mainWindow = null
  })
}

app.on('ready', createWindow)
3、index.html
main.js中加载的主窗口文件,即主布局文件
<!DOCTYPE html>
<html>
<head>
    <!-- 此title会覆盖package.json中设置的name,作为应用顶部名称 -->
    <title>my-app</title>
</head>
<body>
    Hello World!
</body>
</html>
启动应用
1、全局安装时
# 进入到包含 package.json 文件的目录,别忽略了后面的点
electron .
2、局部安装时
# 进入到包含 package.json 文件的目录
npm start

# 或者直接使用脚本启动,别忽略了后面的点
node_modules/.bin/electron .
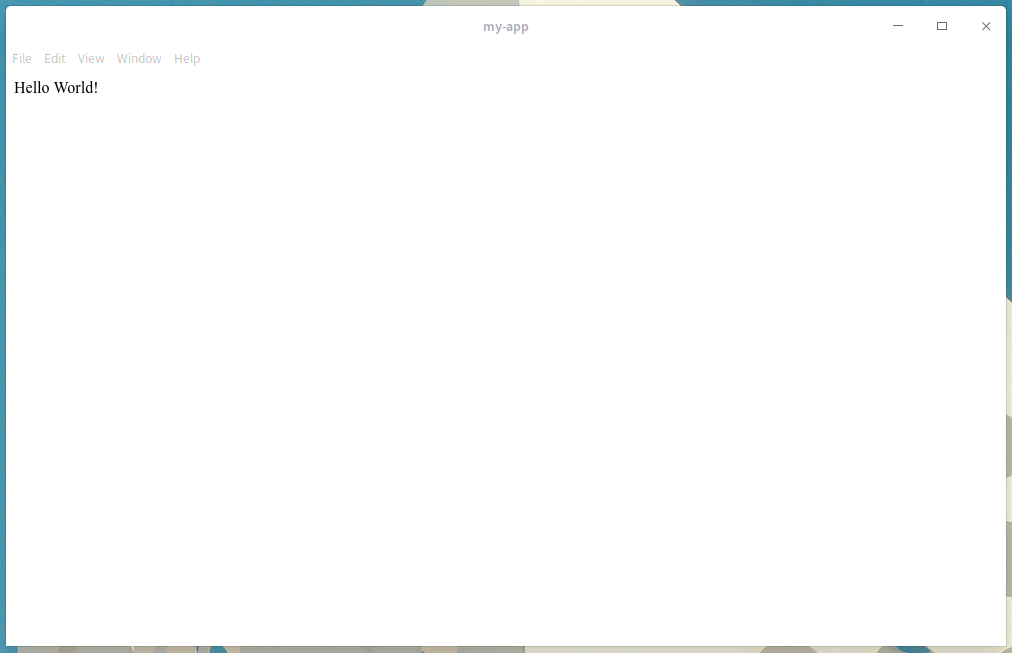
3、验证生效
正常启动的话会出现如下界面代表成功,页面内容显示的就是index.html定义的页面
封装微信网页版
1、修改main.js
也很简单,需要将main.js中加载的主布局文件index.html改成https://wx.qq.com/
const {app, BrowserWindow} = require('electron')

let mainWindow

function createWindow () {
  mainWindow = new BrowserWindow({
    width: 1000,
    height: 770,
    webPreferences: {
        // nodeIntegration: true
    }
  })

  // mainWindow.loadFile('index.html')
  // 改为使用loadURL加载微信网页版url地址
  mainWindow.loadURL('https://wx.qq.com/')

  mainWindow.on('closed', function () {
    mainWindow = null
  })
}

app.on('ready', createWindow)
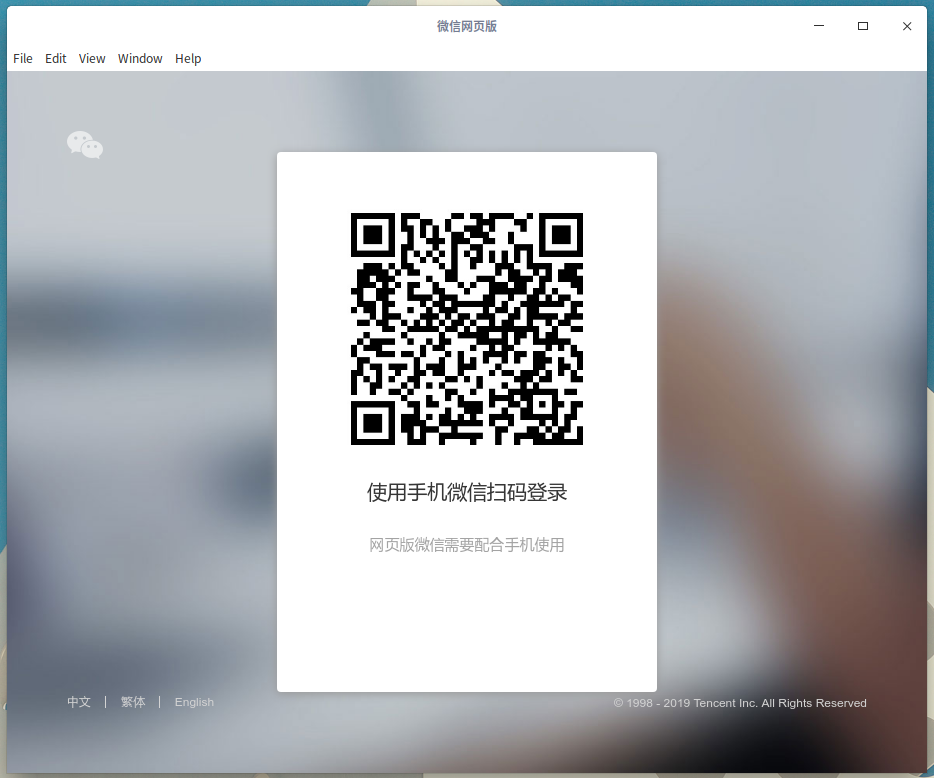
2、重新运行
重新运行Electron,即可看到微信登录扫码界面
# 全局安装
electron .

# 局部安装
node_modules/.bin/electron .
# or
npm start
程序打包成应用
以上所述都是在本地开发环境下使用,但如果要给被人使用,就必须得将Electron打包成一个程序包。幸运的是我们可以通过electron-builder将程序打包成Win、Linux、Mac平台都兼容的版本,交给别人之后直接安装即可。
1、安装electron-builder
npm install --save-dev electron-builder

# 验证安装
node_modules/.bin/electron-builder -h
2、开始打包
注意生成各自平台的程序包最好在对应平台上执行,否则可能打包失败
# Linux打包成AppImage文件
# 在Linux环境上执行
node_modules/.bin/electron-builder -l AppImage

# Windows打包成exe安装文件
# 在Windows环境下执行
node_modules/.bin/electron-builder -w nsis
# 如果在非Windows上打包win程序,也可以借助docker 如下
# docker run --rm -it -v ${PWD}:/project electronuserland/builder:wine sh -c "node_modules/.bin/electron-builder -w nsis"

# Mac打包成dmg文件
# 在Mac环境下执行
node_modules/.bin/electron-builder -m dmg
打包过程中由于package.json中没有设置repository字段可能会报错,但不影响文件生成,忽略即可
  • electron-builder version=20.44.4
  • description is missed in the package.json appPackageFile=/home/qii/electron/eee/package.json
  • author is missed in the package.json appPackageFile=/home/qii/electron/eee/package.json
  • writing effective config file=dist/builder-effective-config.yaml
  • no native production dependencies
  • packaging       platform=linux arch=x64 electron=5.0.6 appOutDir=dist/linux-unpacked
  • building        target=AppImage arch=x64 file=dist/my-app 0.1.0.AppImage
  • application Linux category is set to default "Utility" reason=linux.category is not set and cannot map from macOS docs=https://www.electron.build/configuration/linux
  • Cannot detect repository by .git/config. Please specify "repository" in the package.json (https://docs.npmjs.com/files/package.json#repository).
Please see https://electron.build/configuration/publish
  • default Electron icon is used reason=application icon is not set
  • Cannot detect repository by .git/config. Please specify "repository" in the package.json (https://docs.npmjs.com/files/package.json#repository).
Please see https://electron.build/configuration/publish
TypeError: Cannot read property 'provider' of null
3、最终文件
打包好的程序在当前目录dist文件夹下
Linux生成my-app 0.1.0.AppImage文件,双击执行或者./my-app 0.1.0.AppImage执行即可
Windows生成my-app 0.1.0.exe文件,双击安装即可
Mac生成my-app 0.1.0.dmg,双击拖拽安装即可
4、利用配置文件打包
上面1-3方法相当于临时打包,每次运行命令的时候都要指定打包命令,虽然很直接,但是有点不太方便,下面用另一种方法来打包,将打包配置写到package.json中 ,方便使用。
a. 修改package.json文件
Tips: 样例已经增加了repository字段,防止出现上面直接打包时的报错,对应的值是仓库地址,如果你的代码是托管在github上的,就写成github:username/repository,如果是本地代码,可以随便写一个如github:xxx/xxx,但必须要有 [这是electron-builder强制的]
{
  "name": "my-app",
  "version": "0.1.0",
  "main": "main.js",
  "scripts": {
    "start": "electron .",
    "build:linux": "node_modules/.bin/electron-builder -l",
    "build:windows": "node_modules/.bin/electron-builder -w",
    "build:mac": "node_modules/.bin/electron-builder -m"
  },
  "devDependencies": {
    "electron": "^5.0.6",
    "electron-builder": "^20.44.4"
  },
  "author": "qii404",
  "repository": "github:xxx/xxx",
  "build": {
    "win": {
      "icon": "icon.png",
      "target": [
        "nsis"
      ]
    },
    "nsis": {
      "allowToChangeInstallationDirectory": true,
      "oneClick": false,
      "menuCategory": true,
      "allowElevation": false
    },
    "linux": {
      "icon": "icon.png",
      "category": "Utility",
      "target": [
        "AppImage"
      ]
    },
    "mac": {
      "icon": "icon.png",
      "type": "development",
      "category": "public.app-category.developer-tools",
      "target": [
        "dmg"
      ]
    }
  }
}
相关字段含义如下
| 字段 | 含义 |
| scripts | npm运行的脚本别名,如执行npm:build:linux等价于执行node_modules/.bin/electron-builder -l |
| author | 作者名称 |
| repository | 打包时代码托管地址,必填,没有的话可以随意写成如github:xxx/xxx |
| build | 打包配置 |
| icon | 应用生成的图标 |
| target | 打包成何种应用,如windows打包成exe、tar等,Linux打包成AppImage、snap等 |
| category | 应用分类,固定即可,Linux、Mac上要求的 |
| nsis | windows下打包nsis时的特有安装参数,如指定可以更改安装目录等 |
b. 构建应用
分别在各自平台执行打包,如下
# linux
node_modules/.bin/electron-builder -l
# or
npm run build:linux

# windows
node_modules/.bin/electron-builder -w
# or
npm run build:windows

# mac
node_modules/.bin/electron-builder -m
# or
npm run build:mac
正常的话会如下提示,表明配置已经从package.json中的build字段读取,最终生成的AppImage(Linux)、exe(windows)、dmg(mac)文件就是应用程序,别人就能直接使用了。
> my-app@0.1.0 build:linux /home/qii/electron/eee
> electron-builder -l

  • electron-builder version=20.44.4
  • loaded configuration file=package.json ("build" field)
  • description is missed in the package.json appPackageFile=/home/qii/electron/eee/package.json
  • writing effective config file=dist/builder-effective-config.yaml
  • no native production dependencies
  • packaging       platform=linux arch=x64 electron=5.0.6 appOutDir=dist/linux-unpacked
  • building        target=AppImage arch=x64 file=dist/my-app 0.1.0.AppImage
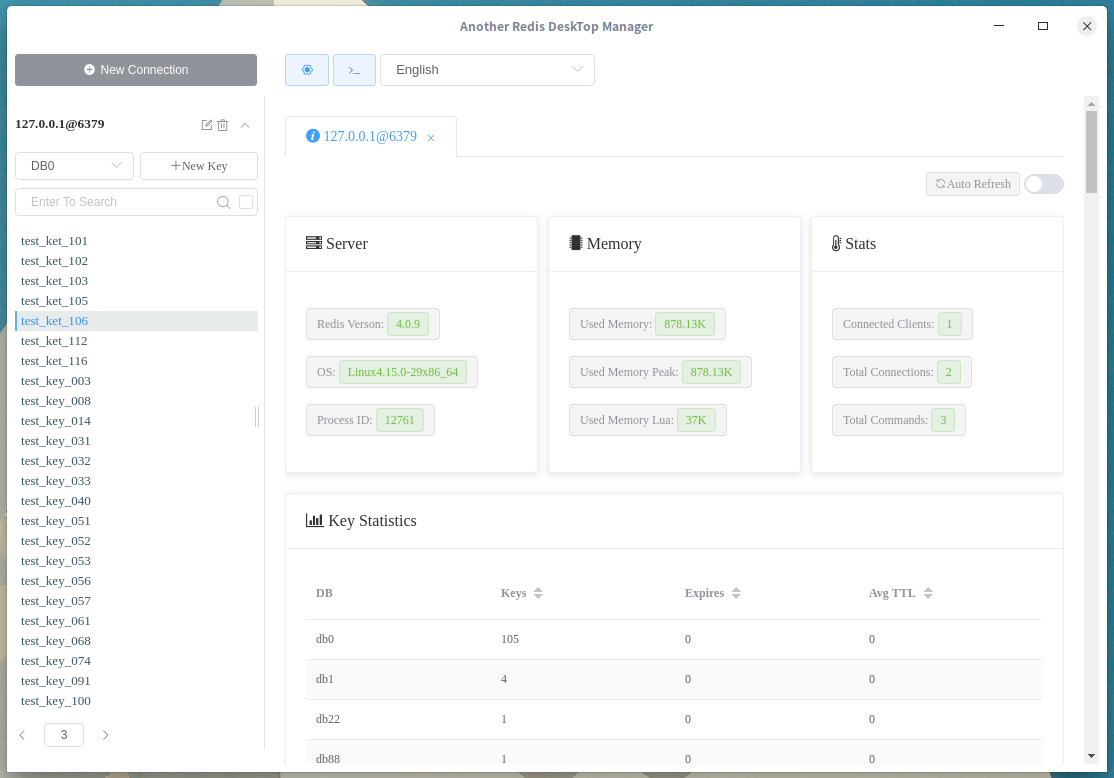
项目关联推荐
Another Redis Desktop Manager 是一款现代的,基于Electron和ElementUI实现的跨平台Redis桌面客户端,兼容Windows、Linux、Mac平台,小巧优雅,基本构建和实现和本文一致,如果想要研究Electron更深层次应用的话,可以参考该开源项目。毕竟RDM收费了,作为一个替代品,AnotherRedisDesktopManager还是一个很好的选择的 [手动狗头]